
Before you begin
Use a clear field photo and keep the tape measurement associated with the exact points used for calibration.
- 01
Frame the complete surface
Use the main camera, stand square to the wall, and keep all four wall edges visible.
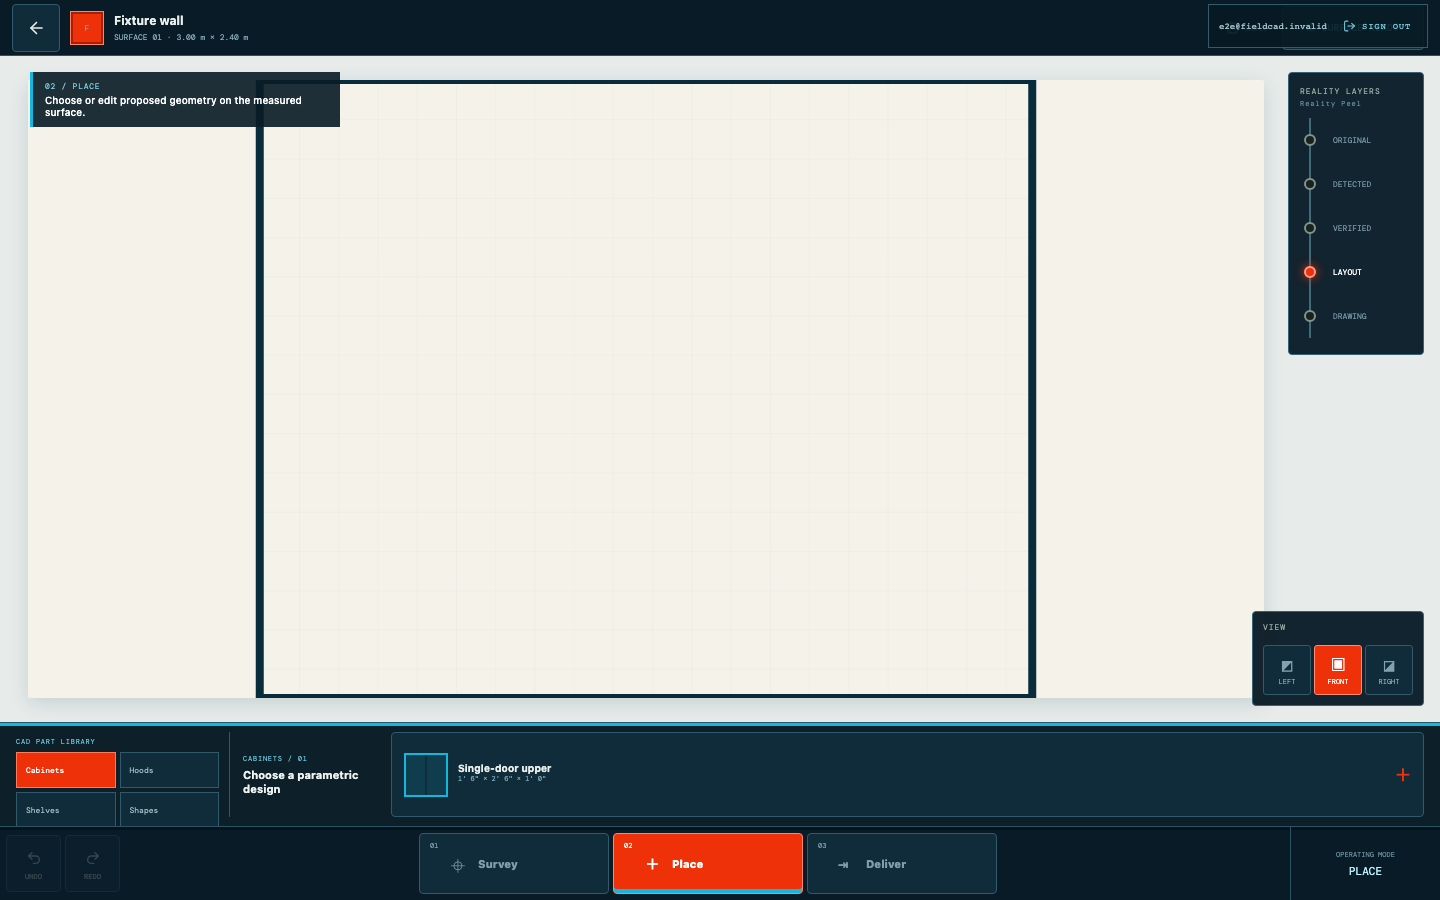
Automated capture from the current product workflow. - 02
Mark the wall plane
Review the proposed corners and adjust them so the overlay follows the measured surface.
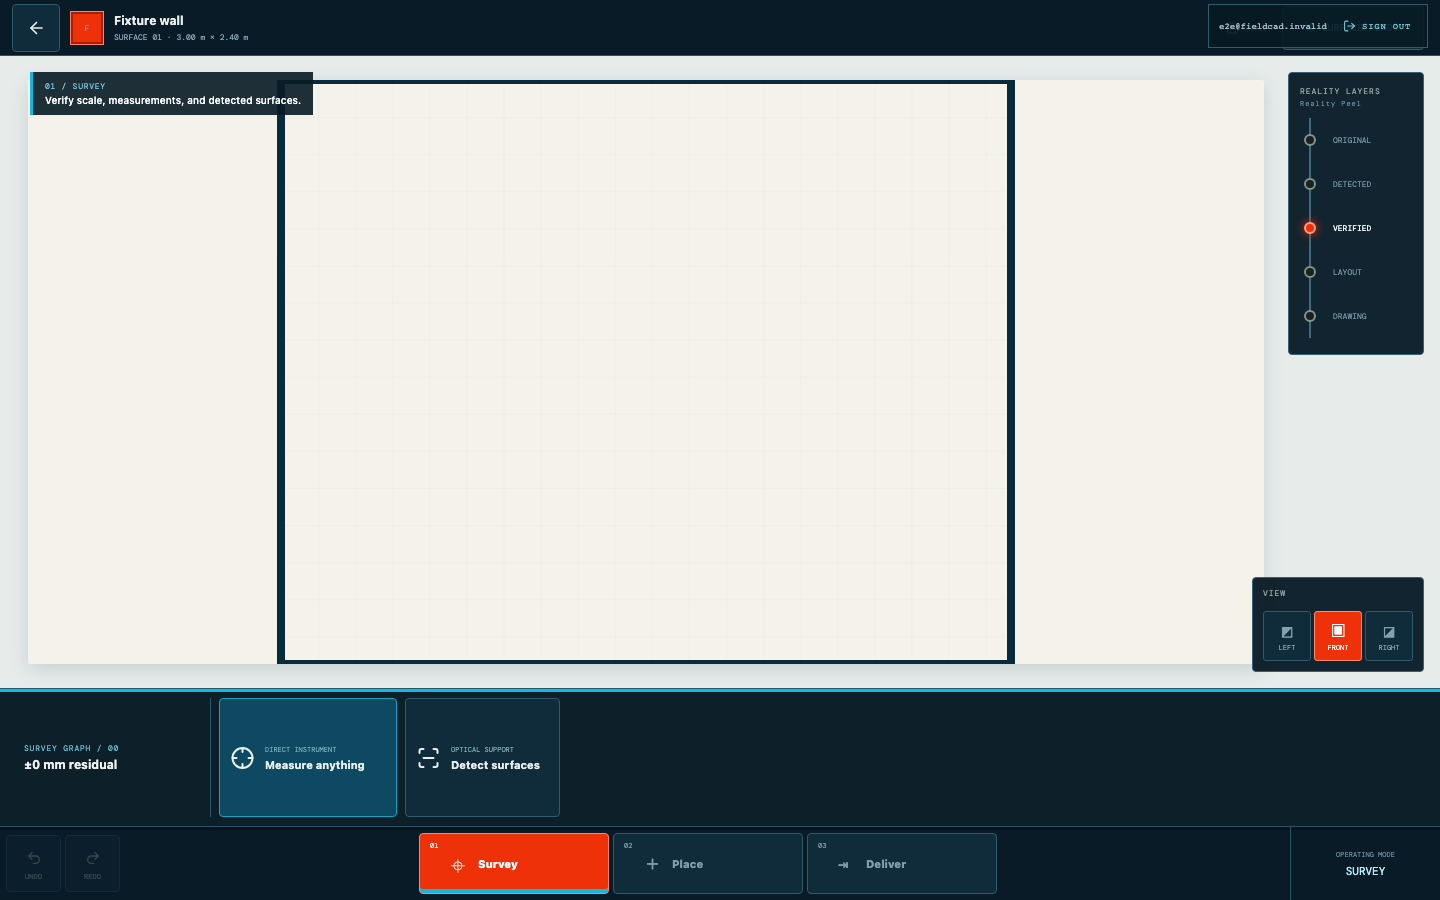
Automated capture from the current product workflow. - 03
Anchor one real measurement
Place A and B across a distance you measured with a tape, then enter that verified value.
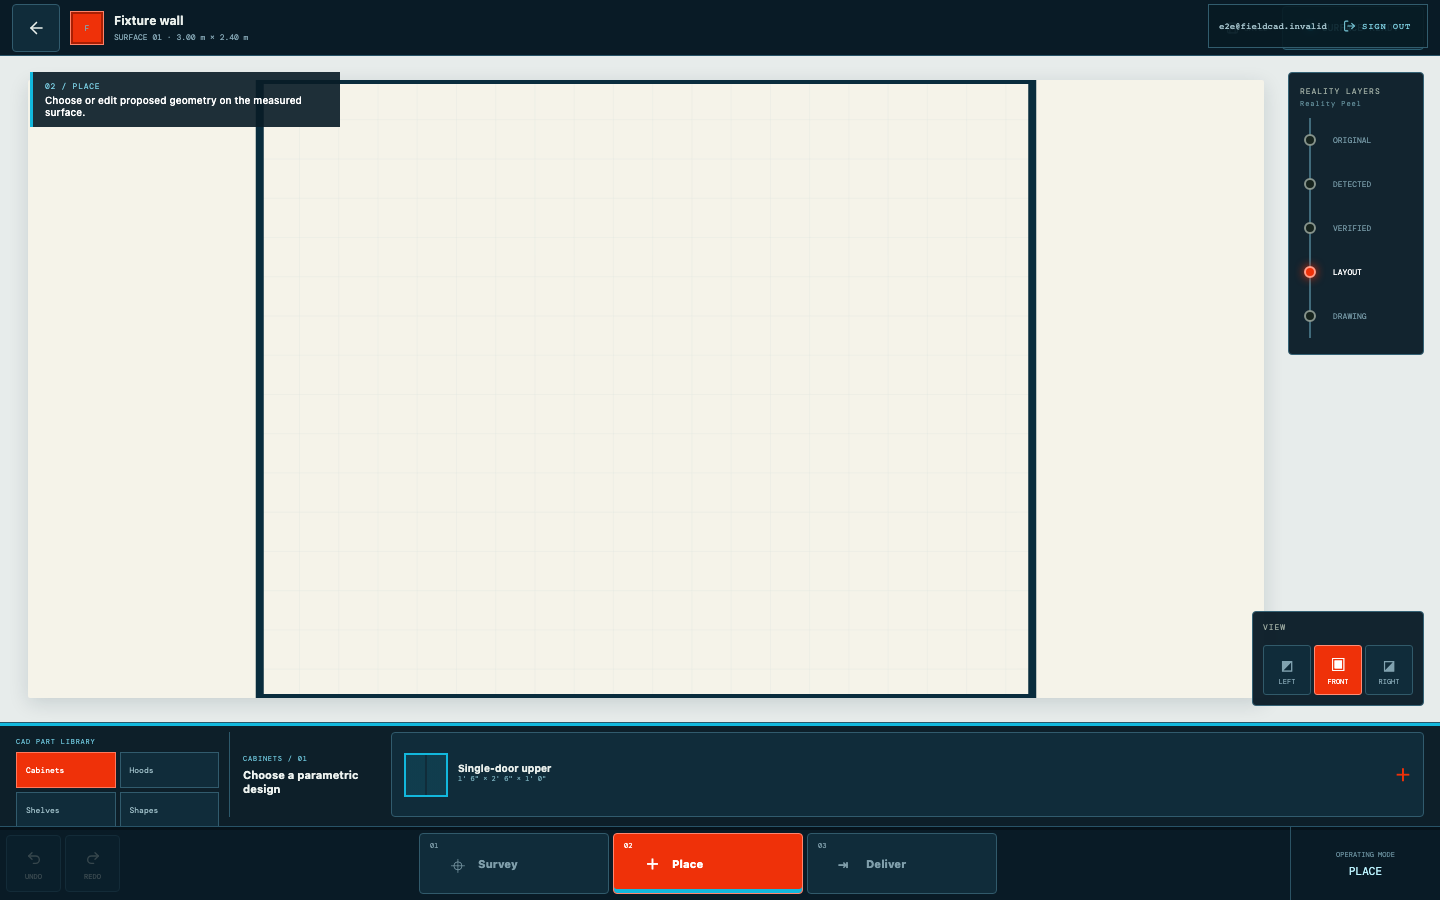
Automated capture from the current product workflow. - 04
Lock the elevation
FieldCAD rectifies the photo into a front-on, scaled working surface.
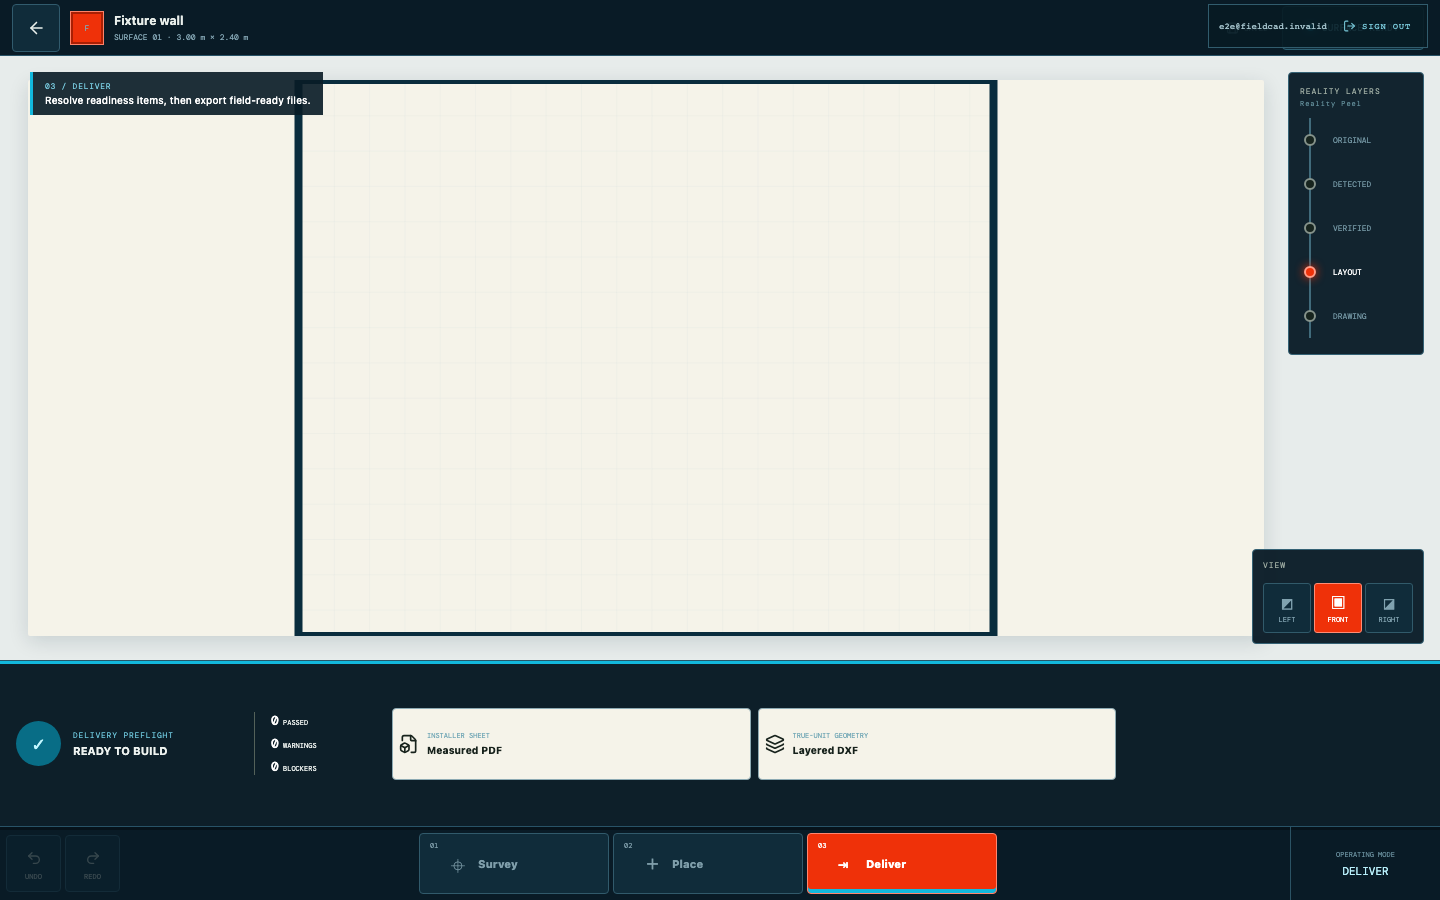
Automated capture from the current product workflow.